
When we first got married, our budget was tight, so we decided to build our own headboard. I started by drawing up this plan. We knew we wanted something that you
could see over our pillows, but low profile to not cover up too much of
the window behind our bed.


Materials:
- (3) 1 x 4 x 10 Boards
- (3) 1 x 3 x 8 Boards
- (1) 1 x 2 x 8 Boards
- 1.25" Screw
- Wood Filler
- Stain - I used Minwax in Jacobean
Cut List for a Queen:
- Cut (3) 1 x 4 Boards to (6) 60" pieces
- Cut (2) 1 x 3 Boards to (4) 43" pieces
- Cut (1) 1 x 3 Board to (1) 68" piece
- Cut (1) 1 x 2 Board to (2) 43" pieces
As soon as we got home from Home Depot, I stained the boards and let them dry overnight.

First step to assemble was to line up a 1 x 2 and a 1 x 3 (each 43") and
screw them together on the 1 x 2 side. These are the leg pieces.

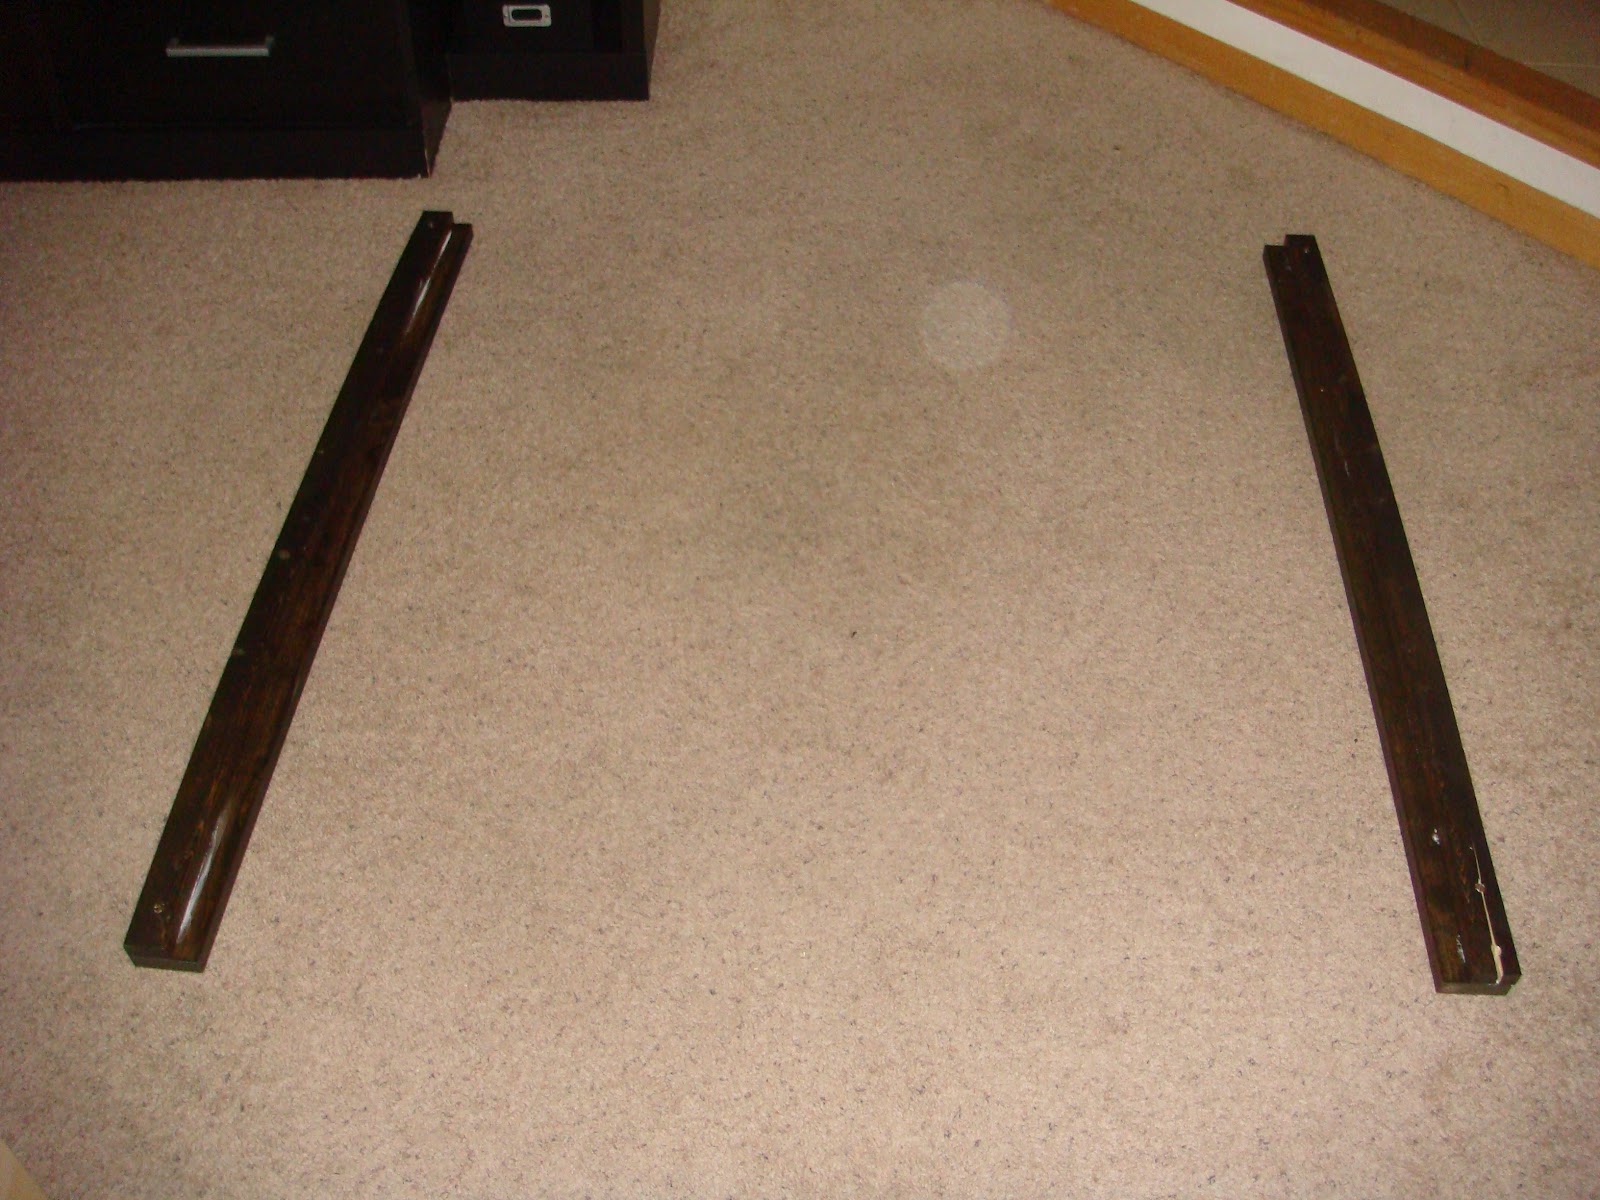
The gap left open is where you will screw the 1 x 4's in. MAKE SURE to
double check that your corners are square after you screw in the first
and second boards!
{Picture Fail} but it should look like this, and this is probably easier to see, anyway:

Then, to avoid having to fill more holes than needed, place the other 43" 1 x 3's on top of the 1 x 2's and edge of 1 x 4's. This almost looks like a sandwich. One side will have the screws, and the other side will be screw-hole free.

Next, I attached the top piece to the headboard with a few screws. These will be the only screw holes that you will have to fill. If you want, you can also get one more 1 x 3 and cut two (2) 43" pieces and attach to the sides. It would look like this:

This project was so inexpensive, and we used it for many many years.


Add your comment