

Back in 2012, when we purchased our house, the fireplace tile was basic and boring. After we made the barn door, and painted the mantel and moulding white, the next project was to update the tile.

We were hoping to salvage the
drywall, but the tile was stuck on there like crazy, so we opted to just
pull off all the tiles in as large of pieces as I could without
worrying about it.
After
cleaning it all up and getting the paint touched up, I would say the demo part of this
project took us about an hour.

We
didn't have any of the tools we needed for this project since this was
our first tile project, so we purchased tile nippers, float, and cheesecloth. Our fireplace perimeter is 10" wide, so we had to cut down our 12x12 sheets, tile by tile.

We set out all the tile to make sure the pattern came out the best way possible. As I cut and laid out the tiles, Matthew replaced the drywall.

Now
this is where I share the best part of this whole makeover with you.
When we were at Home Depot to pick up mortar, we noticed this guy: Simplemat.

Since
we didn't already have mortar, it was about the same price to buy these
sticky sheets, and oh-my-goodness, so much easier and worth every
penny! It's just like double stick tape, and the best thing is that you
can grout right away, instead of having to wait a day or two like
traditional mortar.

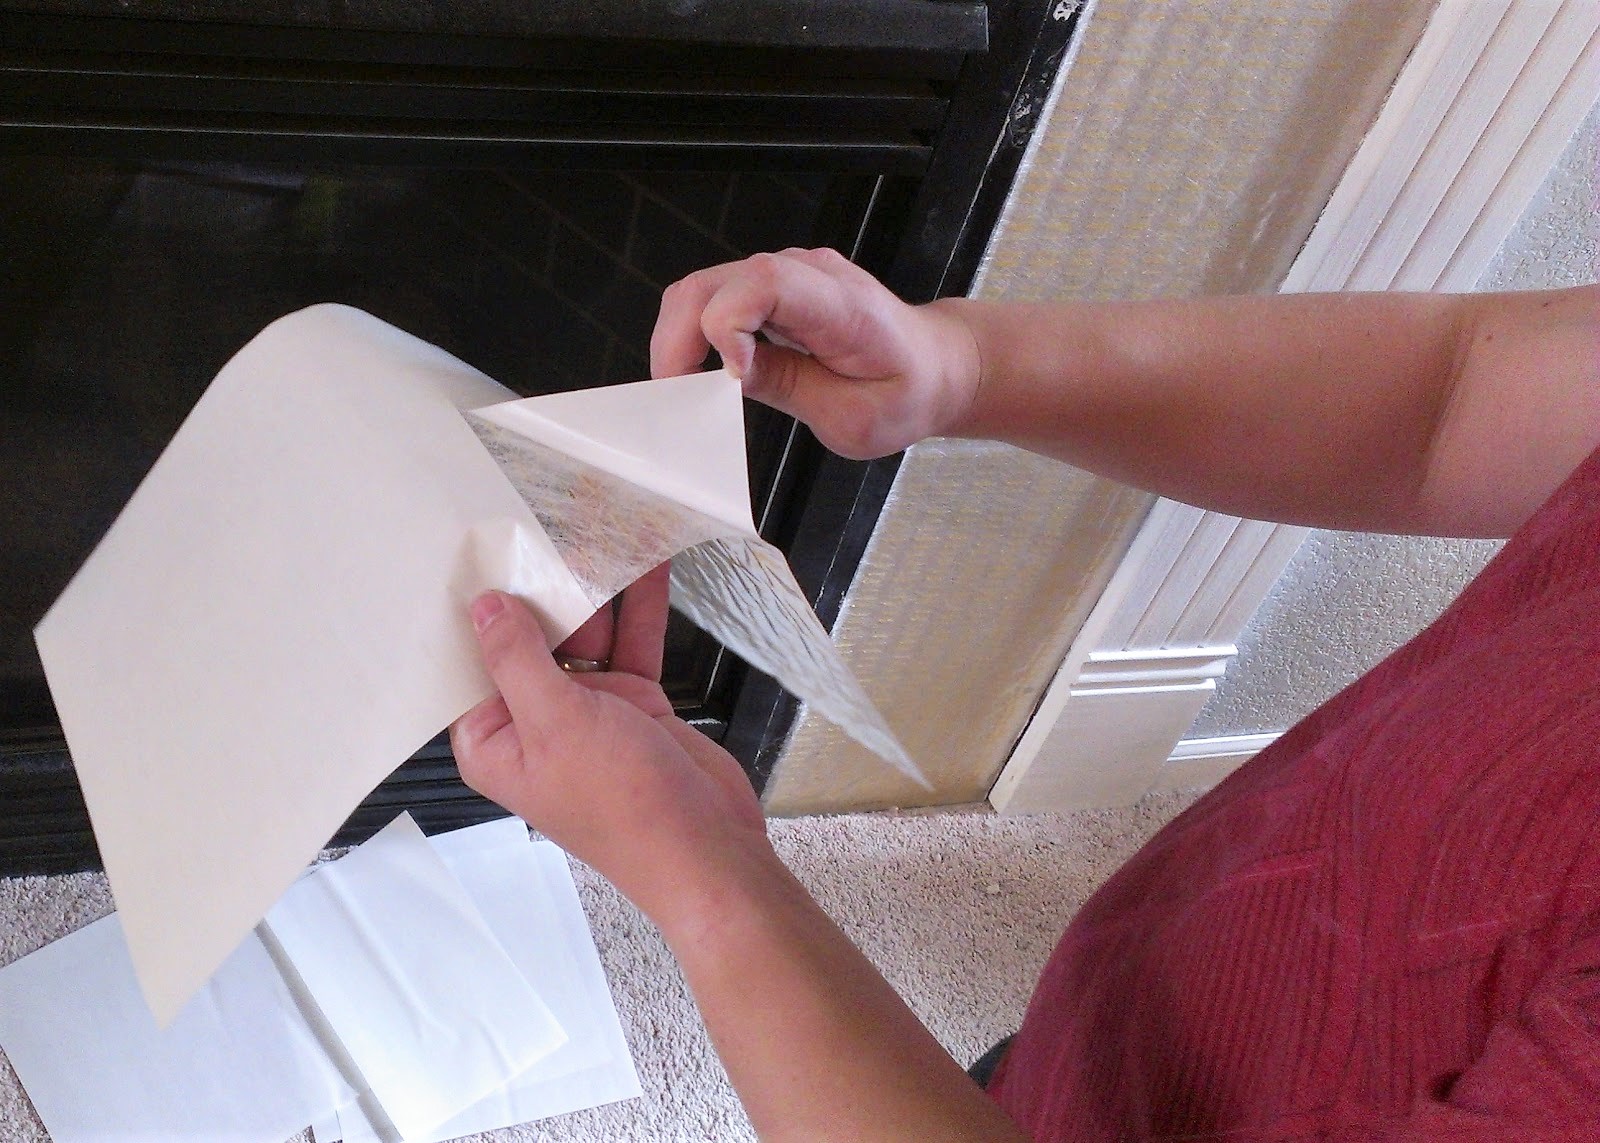


After
this was all up and we were ready to go, you simply pull off the top
film and start placing your tile sheets on the wall, using spacers of
course!


Seriously,
I cannot explain to you how amazingly easy this was! Every time we
would place a sheet of tile, we would both just laugh because it seemed
like it was way too good to be true. To replace the drywall, cut the
tiles, put up the Simplemat, and place the tiles, we put about 2 hours
of work on the tiling itself.

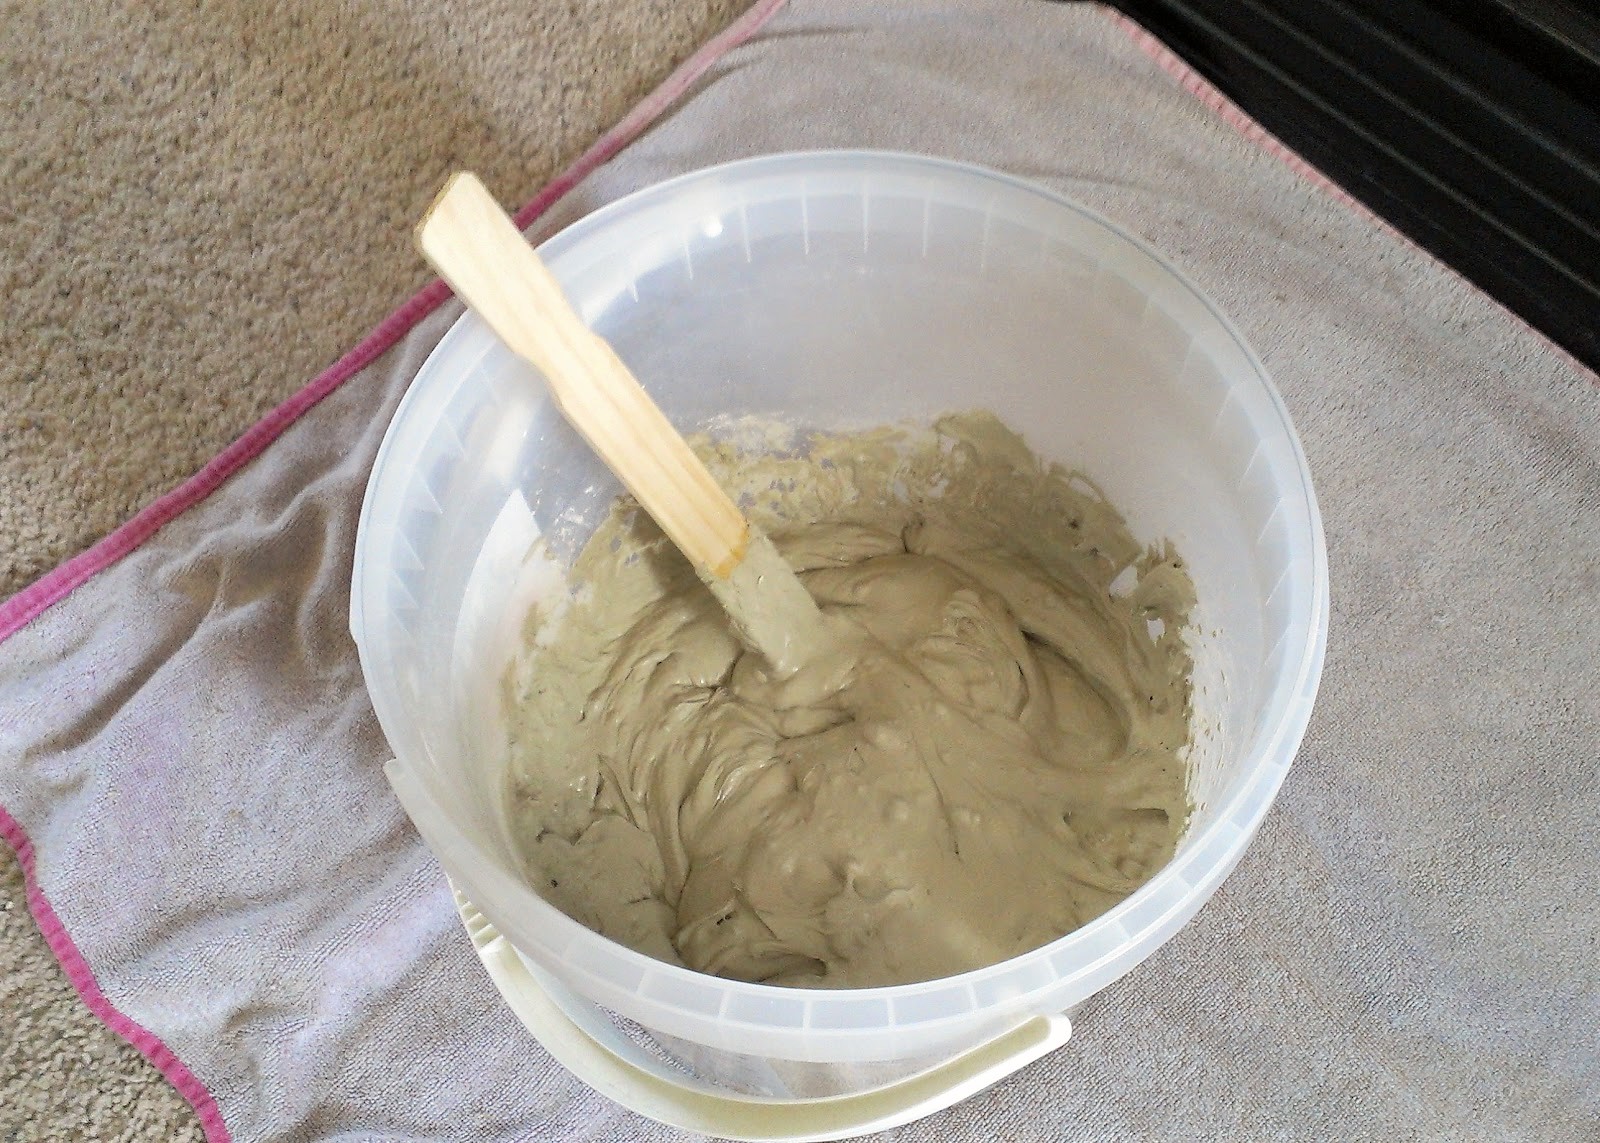
We
were loving it, but let me tell you, before you grout these tiles, they
look all kinds of crooked. But less than an hour of grouting later, and it looked great.

We let this sit for a few hours and then removed the haze with cheese cloth.


And we just love the results. It's one of the most commented on things in our house when people come over, too.

And for fun, here's the before and after:


Now, for those of you who are curious about the costs associated with a project like this, here you go:
(10) 12" x 12" Ceramic tile sheets - $60.00
(1) Box of SimpleMat - $20.00
(1) Box Non-Sanded Grout - $13.00
(1) Package Cheesecloth - $4.00
(1) Sheet of Drywall - $9.00
Tiling Tools - $18.00
Total - $124.00
This post contains affiliate links. Please note that
it doesn't cost anything to use an affiliate link and making a purchase
through an affiliate link helps to support this site.


Love how the project turned out! Quick question... In your final picture, I can see a white trim on the inside of the tile next to the black - what did you use there? Did you use trim of some sort? We are doing a project very similar to yours and are trying to figure out how to trim the inside of the tile. Any help or info will be greatly appreciated!
ReplyDeleteHello! Yes, we just used a thin piece of trim we found at the Hardware store. I'm not totally sure it's the best solution, but we've had it this way for 8 years!
ReplyDeleteHi Erin - Thank you for your response! I like the look of the trim. My husband and I are debating... Did you use metal or wood trim?
ReplyDelete